Epic Watershapes

Think Your Pool Is Leaking? How to Find Out with the Bucket Test

When people see the water levels in the pool dropping, most of them automatically think of evaporation. Water loss can be deceptive. Heat, sunlight, storms, pool usage, cleaning, wind all lead to natural water loss whereas underground plumbing leaks, shell cracks and equipment failures can also lead to water loss just as quietly. 

This is where the bucket test becomes invaluable. It’s a simple, DIY method that allows you to clearly determine whether your pool is losing water due to normal evaporation or a leak.

In this guide, you’ll learn:

  • How the bucket test works
  • How to perform it correctly
  • How to interpret the results
  • Signs that confirm a pool leak
  • Common causes of pool leaks
  • Why leaks are dangerous
  • What to do if a leak is confirmed
  • When to call a professional
  • How to prevent future leaks


This step-by-step approach helps you protect your pool investment before small problems become expensive repairs.

Understanding Normal Pool Water Loss

Water Loss

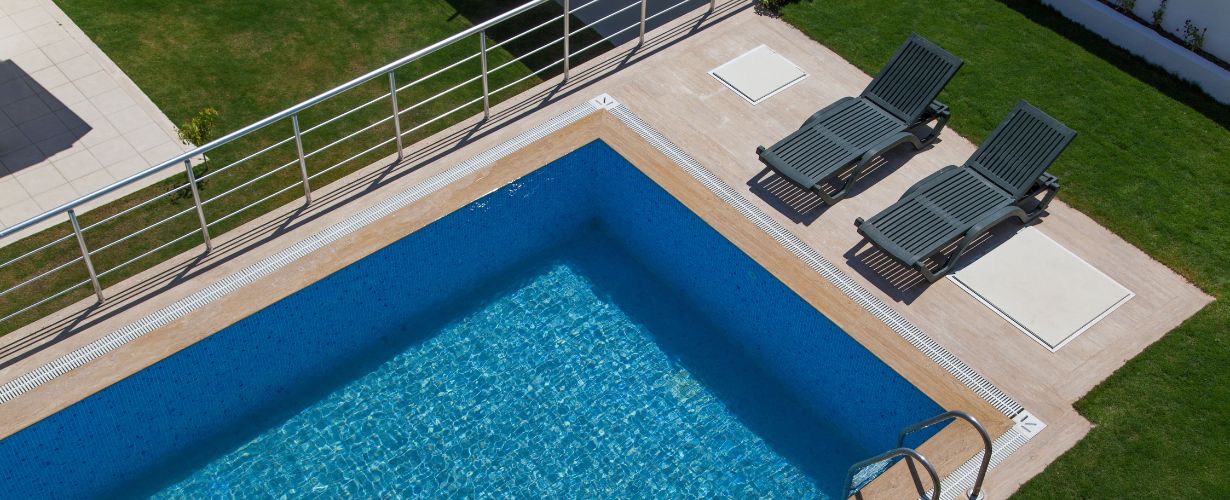
All pools lose water naturally, especially in warm and coastal climates of South Florida. Understanding what are the natural causes can help prevent stress and misdiagnosis. 

Common causes of normal water loss:

  • High temperatures: Heat accelerates evaporation, especially during peak summer months.
  • Direct sunlight: Constant sun exposure increases surface water loss throughout the day.
  • Wind exposure: Wind pulls moisture from the pool surface, increasing evaporation.
  • Pool usage and splashing: Swimming activity naturally displaces water from the pool.
  • Backwashing filters: Routine filter cleaning releases water as part of maintenance.


In West Palm Beach, normal evaporation alone can reach ¼ to ½ inch per day, making proper testing essential before assuming a leak.

What Is the Bucket Test?

Bucket Test

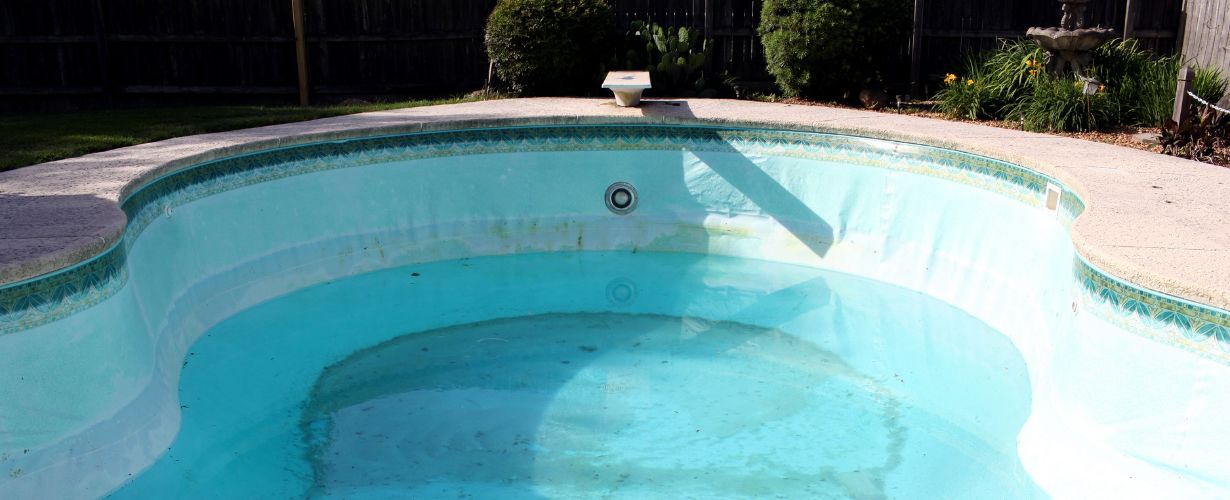
A bucket test is a simple DIY test that can be performed  to check whether the pool is losing water through natural evaporation or if there are any leaks in the pool. 

Why the bucket test works:

  • It isolates evaporation from leaks: The bucket shows evaporation only, while the pool shows total loss.
  • It provides measurable results: Clear markings allow accurate comparison.
  • It’s inexpensive and easy: No professional tools or equipment are required.
  • It gives clear answers: Results are easy to interpret.
  • It works for all pool types: Suitable for inground pools, spas, plaster pools, saltwater pools, and cocktail pools.


Even many professionals use this as a first-stage leak detection method. 

Step-by-Step Bucket Test Guide

Test Guide

What You’ll Need:

  • A standard plastic bucket
  • Pool water.
  • A marker or tape
  • A ruler
  • A flat pool step or ledge

Step 1: Fill the Bucket: Place the bucket on a pool step and fill it about ¾ full with pool water. Using pool water ensures identical evaporation conditions for accurate results.

Step 2: Mark the Water Levels: Mark the water level inside the bucket and the pool water level on the outside of the bucket. These markings allow precise measurement after 24 hour

Step 3: Turn Off Pool Features: Turn off pumps, heaters, water features, and autofill systems. Prevents artificial water movement and refilling that could distort results.

Step 4: Wait 24 Hours: Leave the pool undisturbed for a full day. A full evaporation cycle ensures accurate comparison.

Step 5: Compare the Water Levels: Measure the water drop inside the bucket and the pool.

Results:

  • Same drop = Normal evaporation
    Water loss is caused by weather and climate.
  • Pool drops more = Likely leak
    Extra loss indicates a structural or plumbing issue.

Signs That Confirm a Pool Leak

Pool Leak

Some of the most common leak indicators are

  • Frequent refilling: Constant topping up signals abnormal loss.
  • Cracks in pool shell or deck: Structural cracks allow underground leakage.
  • Loose or shifting tiles: Often caused by foundation movement.
  • Wet spots around the pool: Persistent moisture indicates underground leaks.
  • Soggy landscaping: Saturated soil suggests plumbing leakage.
  • Air in pump system: Air bubbles indicate suction-side leaks.
  • Chemical imbalance: Leaks dilute chemicals and disrupt balance.
  • Rising water bills: Hidden water loss increases costs.
  • Daily water loss over ½ inch: Exceeds normal evaporation levels.

What to Do If the Bucket Test Confirms a Leak

Take these following steps if your bucket test confirms a leak. 

  • Stop excessive refilling: Prevents masking the leak source.
  • Document water loss: Helps professionals diagnose accurately.
  • Avoid heavy chemical dosing: Prevents waste and imbalance.
  • Contact a professional contractor: Ensures proper diagnosis.
  • Schedule leak detection: Locates the exact source of leakage.

Repair Options After Leak Detection

Once a pool leak has been detected professionally, choosing the right repair method is very essential for restoring structural integrity and preventing future damage and protecting your long term investment. In many cases, addressing leaks properly not only fixes the immediate issue but also improves the overall performance, safety, and durability of the pool system.

Below are the most effective repair solutions used in professional pool restoration:

  • Crack sealing – Restores shell integrity
    Structural cracks in the pool shell allow water to escape underground and weaken the foundation. Crack sealing repairs these fractures using professional-grade materials that restore watertight integrity, prevent further spreading, and stabilise the pool structure long-term.
  • Plumbing replacement – Fixes underground leaks
    Underground pipe leaks are one of the most damaging and difficult-to-detect problems. Replacing damaged plumbing lines prevents hidden water loss, protects soil stability, and ensures consistent water circulation throughout the pool system.
  • Skimmer repair – Prevents surface leaks
    Skimmer boxes often crack due to soil movement and sun exposure. Repairing or replacing damaged skimmers stops surface-level leaks, improves water circulation efficiency, and restores proper filtration flow.
  • Equipment replacement – Stops mechanical leaks
    Pumps, heaters, filters, chlorinators, and valves can develop leaks due to worn seals, corrosion, or pressure damage. Replacing faulty equipment prevents recurring leaks, improves system performance, and reduces energy waste.
  • Pool resurfacing – Restores damaged finishes
    Leaks often damage pool plaster and interior finishes. Resurfacing not only repairs structural weaknesses but also improves comfort, appearance, water retention, and surface durability.
  • Pool remodeling – Upgrades structure and design
    When leaks cause widespread damage, remodeling allows for structural repairs while enhancing aesthetics, layout, and functionality. This transforms necessary repairs into long-term value upgrades.
  • Deck repair – Stabilises surrounding areas
    Water leaks erode soil beneath pool decks, leading to cracking, sinking, and instability. Deck repairs restore structural support, improve safety, and prevent further erosion damage.
  • System upgrades – Improves efficiency and durability
    Leak repairs often create opportunities to upgrade pumps, filtration systems, automation, and plumbing layouts, increasing efficiency, reducing operating costs, and strengthening long-term reliability.

Preventing Future Pool Leaks

A preventive approach not only extends the lifespan of your pool but also preserves property value and reduces costly emergency repairs.

Long-term prevention strategies:

  • Regular inspections – Early detection
    Routine professional inspections help identify small cracks, pressure issues, and equipment wear before they develop into major structural or plumbing failures.
  • Balanced water chemistry – Surface protection
    Proper chemical balance prevents surface corrosion, plaster erosion, and material breakdown that can lead to cracks and leaks over time.
  • Equipment servicing – Failure prevention
    Scheduled servicing of pumps, filters, heaters, and valves prevents seal failure, pressure damage, and mechanical leaks.
  • Plumbing checks – Hidden leak detection
    Routine pipe inspections and pressure testing help identify underground leaks before they cause soil erosion and structural instability.
  • Proper drainage – Structural protection
    Effective drainage systems prevent water buildup around the pool structure, reducing hydrostatic pressure and foundation stress.
  • Timely resurfacing – Life extension
    Resurfacing restores weakened surfaces, seals structural vulnerabilities, and prevents water penetration that leads to deeper damage.
  • Smart upgrades – Durability improvement
    Modern pumps, plumbing materials, filtration systems, and automation improve system resilience, reduce stress on components, and strengthen long-term pool durability.

Protect Your Pool Before Small Leaks Become Big Problems

Not all pool water loss is a problem, but hidden leaks can cause serious damage if left unchecked. The bucket test offers a simple way to tell the difference between normal evaporation and a potential leak, helping you act early and protect your pool from costly structural, plumbing, and equipment damage.

If your results point to a possible leak or you’re still unsure, a professional inspection can provide clarity and prevent small issues from becoming major repairs. Getting expert advice early is one of the easiest ways to protect your pool and enjoy long-term peace of mind.