
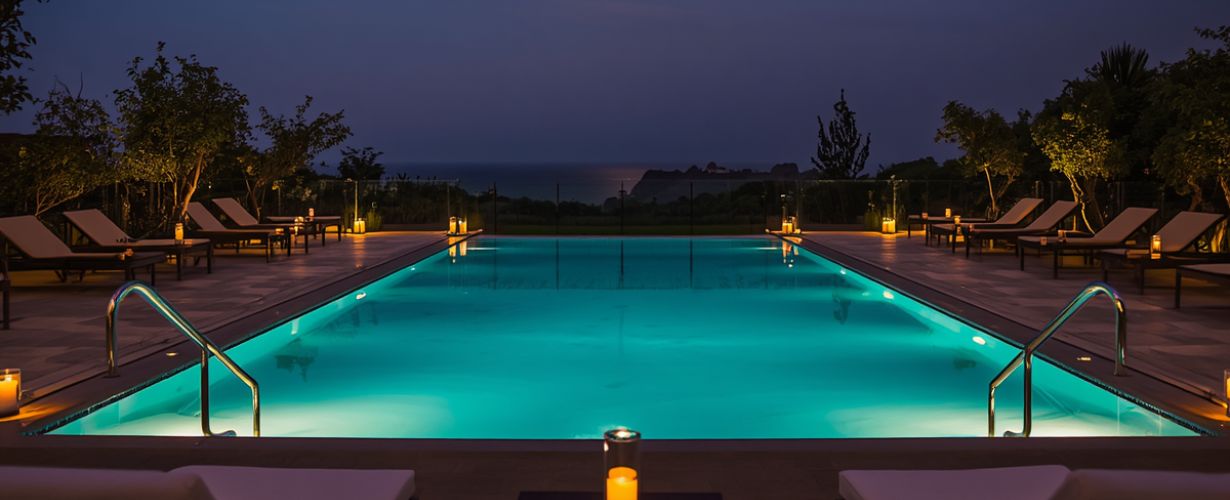
How to Winterize Inground Pool
When the summer sun fades and the crisp autumn air moves in, pool season comes to an end. For inground pool owners, this shift means it is time to think about protection. Properly winterising your inground pool helps protect it from damage during the colder months. Leaving your pool unprotected during freezing weather can lead to costly damage.
Freezing water expands. If water sits inside your pool pump, filter, or underground plumbing pipes when the temperature drops below 32 degrees Fahrenheit, it will turn to ice. That expanding ice can crack solid plastic valves, rupture heavy-duty PVC pipes, and tear your pool liner. Fixing buried pipes requires digging up your concrete pool deck, which can cost thousands of dollars.
Taking the time to close your pool correctly ensures that your water stays clear, your equipment stays safe, and your backyard is ready for an easy reopening next spring. Below are the steps to help you winterise your pool properly.
When is the best time to close your pool?

Timing is everything when you close an inground pool. Many pool owners make the mistake of closing their pools too early in the autumn season. If you close your pool while the weather is still warm, you create a perfect breeding ground for algae. Algae thrives in warm, dark water underneath a pool cover.
The best rule of thumb is to wait until the daily pool water temperature drops consistently below 65 degrees Fahrenheit. At this temperature, algae growth slows down drastically. Waiting for this temperature drop means your winter chemicals will last much longer, and you will uncover a much cleaner pool when spring arrives.
Essential Tools and Supplies for Winterization
Before you begin the winterisation process, gather all your supplies. Having everything ready on your pool deck will save you time and prevent unnecessary trips to the local pool supply store.
| Supply Item | Purpose | Why It Matters |
|---|---|---|
| Water Testing Kit | Measures pH, alkalinity, and calcium | Ensures balanced water that will not corrode surfaces |
| Winter Chemical Kit | Contains shock, algaecide, and stain sequester | Keeps water clear and prevents green or black stains |
| Pool Gizzmo / Ice Compensator | Screwed into the skimmer opening | Absorbs ice expansion so the plastic skimmer does not crack |
| Winterizing Expansion Plugs | Rubber plugs with wing nuts for return lines | Keeps water from entering the clean plumbing lines |
| Air Blower or Cyclone Vacuum | Pushes air through the plumbing lines | Clears out all standing water before the freeze hits |
| Pool Cover & Water Bags | Safety cover or solid winter tarp | Keeps out leaves, debris, animals, and sunlight |
Step-by-Step Winterization Process
Step 1: Clean the pool
Any dirt, leaves, or organic debris left in your pool over the winter will decay. This decay stains your pool floor and consumes your protective chemicals.
Start by using a leaf skimmer net to remove all floating debris from the surface of the water. Next, take your pool brush and scrub the walls and floor thoroughly. Brushing loosens invisible algae spores and stuck-on dirt.
Finally, vacuum the entire pool floor. If your pool filter has a multiport valve, turn the handle to the waste setting to vacuum the heavy dirt directly out of the pool instead of running it through your filter media. Clean out the debris baskets in both your skimmer and your pool pump before moving to the next step.
Step 2: Balance the Pool Water
Balanced water chemistry protects your pool surfaces from etching, scaling, and staining during the long winter months. Use a high-quality liquid drop testing kit or take a water sample to a professional store.
Adjust your water parameters to hit the following target ranges:
- pH Level: 7.2 to 7.6
- Total Alkalinity: 80 to 120 parts per million (ppm)
- Calcium Hardness: 200 to 400 ppm
Once your water is balanced, add your winterizing chemicals. Pour a strong dose of pool shock to sanitize the water, followed by a concentrated winter algaecide. Allow the pool pump to run for at least 6 to 8 hours after adding these chemicals so they distribute evenly across the deep and shallow ends of the pool.
Step 3: Lower the Water Level
You must lower the water level in an in-ground pool to keep water out of the tile line and skimmer mouth, where ice expansion does the most damage. The exact depth you need to drop the water depends entirely on the type of pool cover you own.
- For Solid Tarp Covers: Use a submersible pump to lower the water level to roughly 3 to 6 inches below the lowest skimmer opening.
- For Mesh Safety Covers: These covers allow rain and melted snow to pass through into the pool. Lower the water level to 8 to 12 inches below the skimmer to allow room for that extra winter precipitation.
Important Safety Note: Never drain an inground pool completely during the winter. Soil moisture and high water tables can exert upward pressure against an empty pool shell. This pressure can cause a concrete pool to pop completely out of the ground or cause a vinyl liner to float and wrinkle.
Step 4: Backwash and Clean Your Filter System
Your filter system has worked hard all summer long. Do not let old dirt and oils sit inside the filter tank for months, or they will harden into a brick-like substance.
- Sand Filters: Run a thorough backwash cycle until the sight glass shows crystal-clear water, then set the valve to Winterize.
- DE (Diatomaceous Earth) Filters: Drain the tank, remove the internal grid assembly, and hose off all old DE powder and debris.
- Cartridge Filters: Open the filter tank, remove the fabric cartridges, and spray them clean with a garden hose and a specialised cartridge cleaning solution. Store the clean cartridges indoors for the winter.
Step 5: Clear Water from the Plumbing Lines
This is the most critical stage of learning how to winterize inground pool systems. If water remains in your underground pipes, it will freeze, expand, and rupture the lines.
To blow out the plumbing lines correctly, you will need a specialized pool blower or a powerful shop vacuum attached to the pump basket opening.
- Hook up the blower: Remove the lid from your pool pump basket. Connect your air blower hose to the drain plug hole or the intake side of the pump.
- Clear the Skimmers: Turn on the blower. You will quickly see water shoot out of the pool skimmers. Once nothing but air escapes the skimmer mouth, insert a rubber expansion plug or screw a hollow Gizzmo into the bottom thread of the skimmer hole. The Gizzmo acts as a sacrificial tube; if ice forms inside the skimmer, the Gizzmo collapses inward, saving the expensive plastic skimmer housing from cracking.
- Clear the Return Lines: Direct the airflow to the wall return lines. Air will force the water out into the pool, creating a bubbling effect. Starting with the closest return line and moving to the furthest, plug each wall line with a rubber winter expansion plug while air is actively blowing out of it. Tighten the wing nut until the rubber expands tightly inside the pipe.
- Clear the Main Drain: Switch the valves to send air down to the deep end main drain. Watch for a massive bubble explosion to break the surface of the pool. Once you see this happen, quickly close the main drain valve at the equipment pad to lock the air pressure inside the pipe. This creates a natural airlock that prevents water from travelling back up into the pipe from the bottom of the pool.
Step 6: Drain Pool Equipment
Water must be completely removed from every piece of mechanical equipment sitting on your pad.
Locate and remove the small plastic drain plugs from the bottom of your pool pump housing, your filter tank, and your pool heater unit. If you have an automatic chlorinator or a saltwater chlorine generator cell, remove the drain plugs or take the unit apart to empty any trapped water.
Place all these small removed drain plugs inside the empty pump basket and screw the pump lid back on loosely. This keeps all your vital hardware in one safe location so you do not lose track of the plugs over the winter.
Step 7: Put on the pool cover
The final step is protecting the open pool structure from the elements. Your choice of cover determines your installation process.
- If you use a traditional safety cover: Inspect the brass anchors installed in your concrete deck. Use an Allen wrench to raise the anchors flush with the concrete. Use your installation rod tool to stretch the heavy-duty spring straps over each brass anchor point. Ensure the tension is even across the entire grid layout.
- If you use a standard solid vinyl tarp cover: Lay it flat across the pool surface with the black side facing down into the water. Fill vinyl water bags roughly three-quarters full with water and lay them end-to-end along the perimeter of the tarp on your pool deck.
Do not fill the water bags completely; they need extra space inside to expand safely when the water inside them freezes into solid blocks of ice. Never use bricks, cinder blocks, or heavy pieces of lumber to hold down a pool cover. If these rough items slip into the pool, they can permanently tear or gouge your pool interior surface.
Conclusion
Taking the time to properly winterise your pool keeps your backyard investment safe from freezing weather. Skipping these steps or rushing through them can lead to broken pipes, cracked equipment, and a green pool when the warm weather returns. By cleaning the structure, balancing the chemicals, and blowing out the water lines, you save yourself time, stress, and costly repair bills.
A little effort in the autumn means an easy, smooth reopening when spring arrives. If you run into any trouble during the process or want professional help to ensure your system is completely safe, feel free to contact us today. Our team is always ready to help you keep your pool in perfect shape all year round.
